
Adaptive Insights
Adaptive Insights Business Planning Cloud is a powerful new generation of business planning software for finance and beyond. It lets people in companies collaborate, gain insights, and make smarter decisions faster.
The Adaptive Insights connector by IConduct is designed for exporting data to the Adaptive Insights web service.
To configure the connector, follow the instructions below:
- In the Admin Navigation tree, select Connections and click New.

Connections Section in the Admin Navigation Tree
- On the Connector Selection Page, select Adaptive Insights item from the ERP/Accounting section.
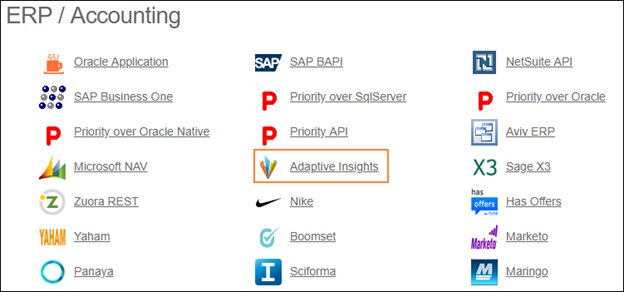
Connector Selection Page
- In the Adaptive Insights Provider work area, fill in the following fields and click Save.
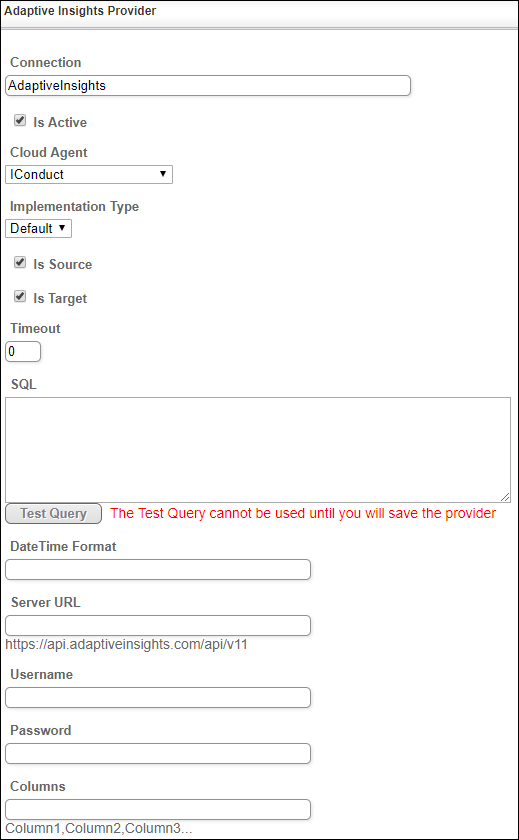
Connection Work Area
| Field | Description |
|---|---|
|
Connection* |
A new connection name. Enter a connection alias here. |
|
Is Active |
Toggles connector’s activity at interface execution. Enable the checkbox to activate the connection for execution. |
|
Cloud Agent* |
The LAN you are working with. Select "IConduct" for cloud systems and your corporate agent for internal systems. |
|
Implementation Type |
Defines the connection implementation type. Supported values:
|
|
Is Source |
This connection entity is available as a data source for Import (writing to Schema). Enable the checkbox to ensure data import. |
|
Is Target |
This connection entity is available as a data target that receives data from schema to current data container. Enable the checkbox to ensure data export. |
|
Timeout |
The length of time (in milliseconds) the IConduct platform waits for a response from the connection provider before returning a timeout error. Set the time value to stop the system from connection attempts. |
|
SQL |
SQL box is intended for entering an SQL query. The user can test the SQL query once the connection is saved. |
|
DateTime Format |
Not used in this connector. |
|
Server URL* |
The service end-point where the request is sent. Insert the target system link here. Example: https://api.adaptiveinsights.com/api/v11 |
|
Database |
The name of the database. |
|
Username |
Enter your username for authorization. |
|
Password |
Enter your password for authorization. |
|
Columns |
Write comma-separated columns, which you want to export. |
* - mandatory fields.
Once the connection is saved, you can test if it is successful. Click Test Connection in the toolbar. If the created connection works, you will receive a success message.

Testing the Connection