
Import Step
This section describes how to add and set up the connection for the Import step applicable to the tasks in the interface. For more information about steps, see Defining Steps
Import step is used to import data into the IConduct Schema for transfer or further manipulation. To create the Import step, navigate to Interfaces> {Specific Interface}> Tasks> {Specific Task}> Steps >New>New Import Step.
To import your data from SFTP Files, follow the steps below:
- Select your SFTP Files connection from the Connection drop-down list. Click Open for your reference, or if modifications or any changes are required in the pre-defined connection.
Warning: If you can't find the necessary Connection in the list, go to the connection page and make sure the Is Active and Is Source checkboxes are enabled..
- Select the required action from the Action drop-down list:
- Insert: Import data into the schema.
- Update: Add the latest data to the existing schema fields.
- Delete: Delete data from the Schema’s table.
- Upsert: Depending on the key- either update or insert data to the schema.
Note: On selecting Update, Delete, Upsert from the Action drop-down list, the Schema Column and Source Column appear. These fields associate a specific field in the source system to a specific field in the Schema. The rows from the source system will Update/Delete or Upsert rows in the Schema based on this association. Select required columns to enable automatic updates. Click Refresh to update the list of source columns.
- Fill in the Query box with a path to the required remote folder. This will return the information about the file(s) contained in the folder.
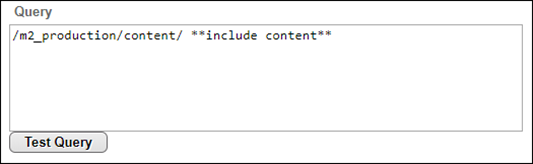
If you need to import the file contents, write **include content** after the file path. The file(s) will be imported into the IConduct schema in the Base64 format.
Query examples:
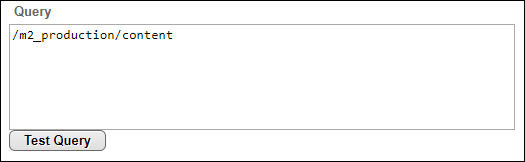
1) Get data about the files at the /m2_production/content path:
2) Get the file(s) at the /m2_production/content path:
Note: Click Test Query to test the query and check if it returns required data (optional).
4. Once done, click Save and proceed with mappings.