
Stripe
The information on this page relates to the new upgraded interface of the IConduct platform. To view information about the Classic version of the user interface, follow this link.
Stripe builds the most powerful and flexible tools for internet commerce. Its software allows individuals and businesses to make and receive payments over the internet. Stripe provides the technical, fraud prevention, and banking infrastructure required to operate online payment systems.
To configure the Stripe connector, follow the instructions below:
- In the Main Menu, select Connections and press Create connection.
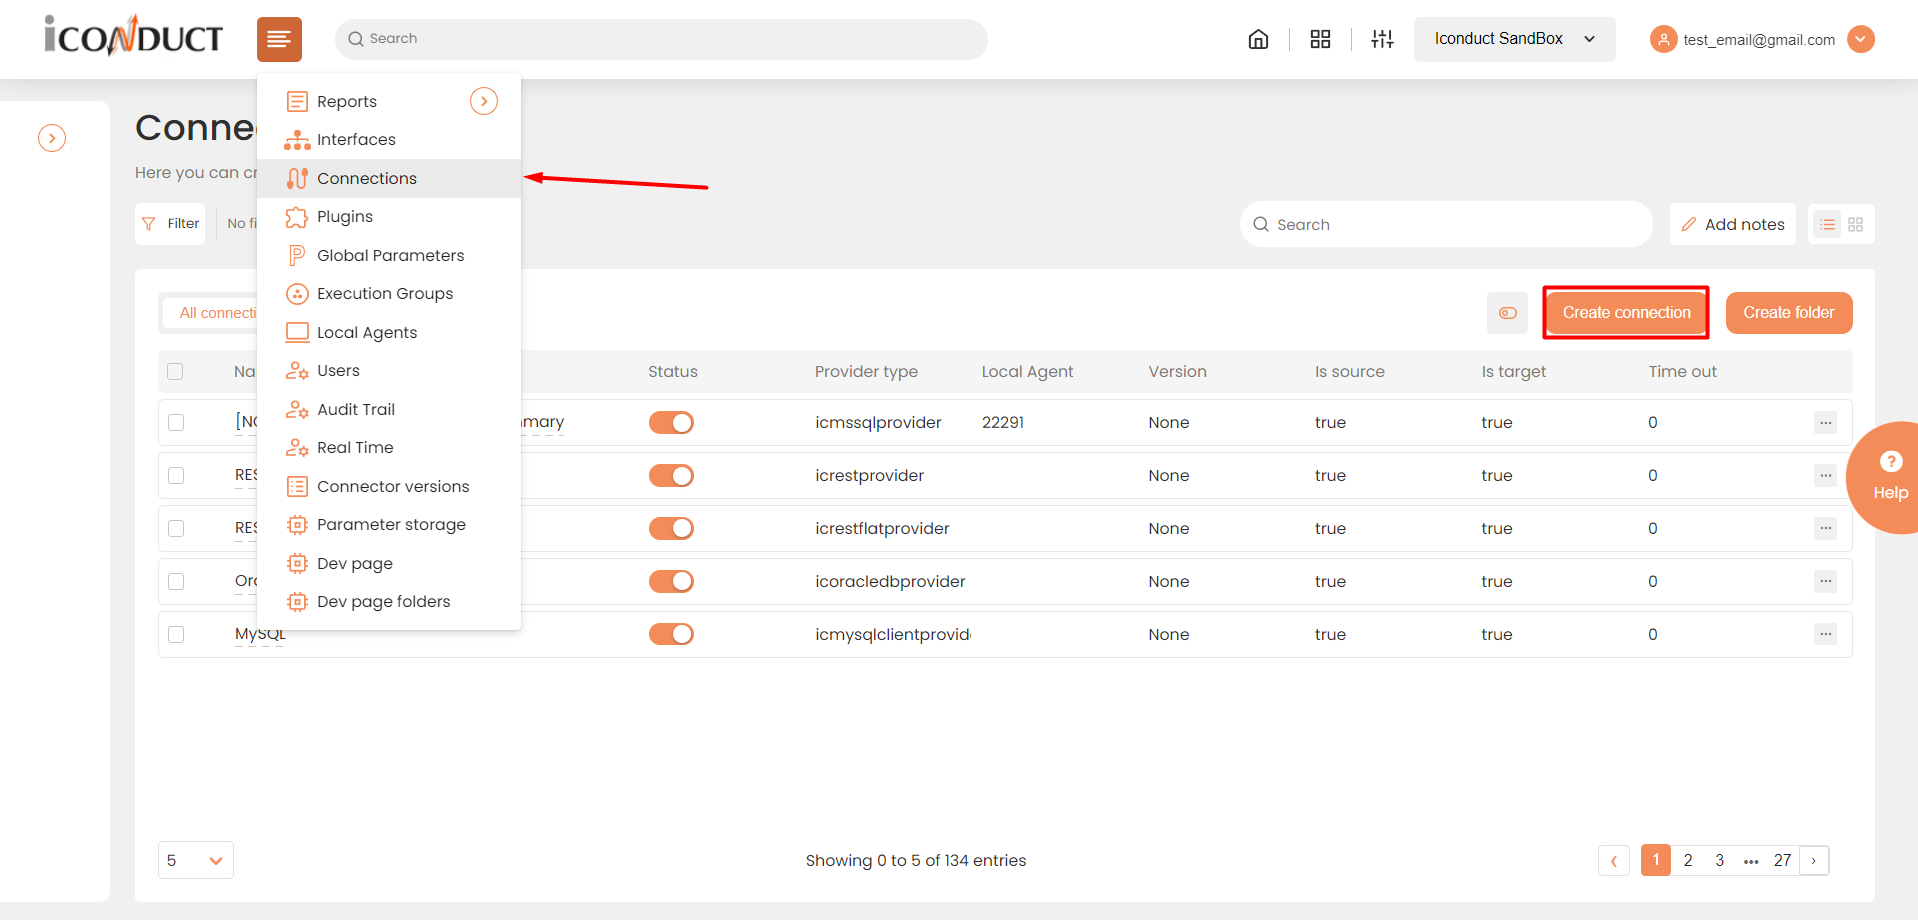
Accessing connections
- Scroll down to the Billing System section and select the Stripe item from the list.
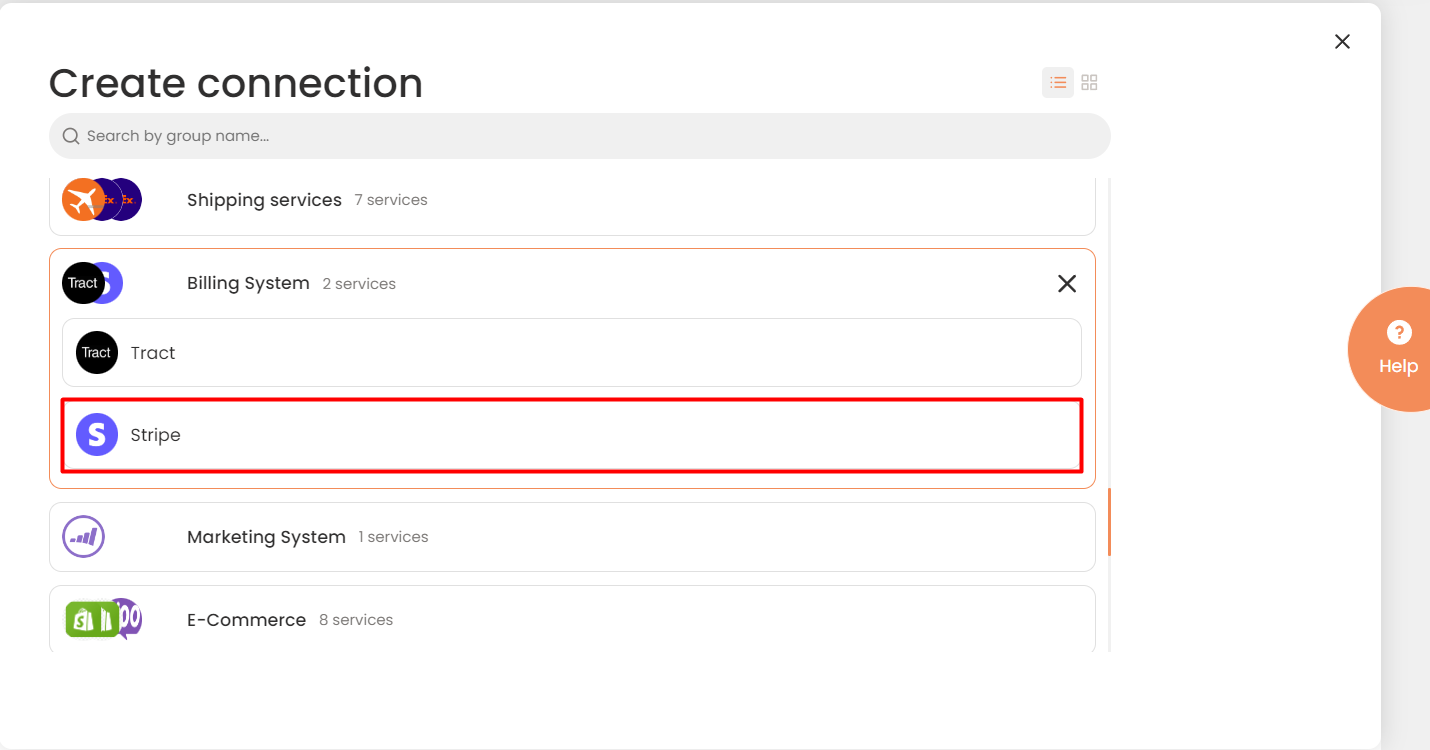
Connector Selection Page
- In the Stripe work area, fill in the following fields and press Create.
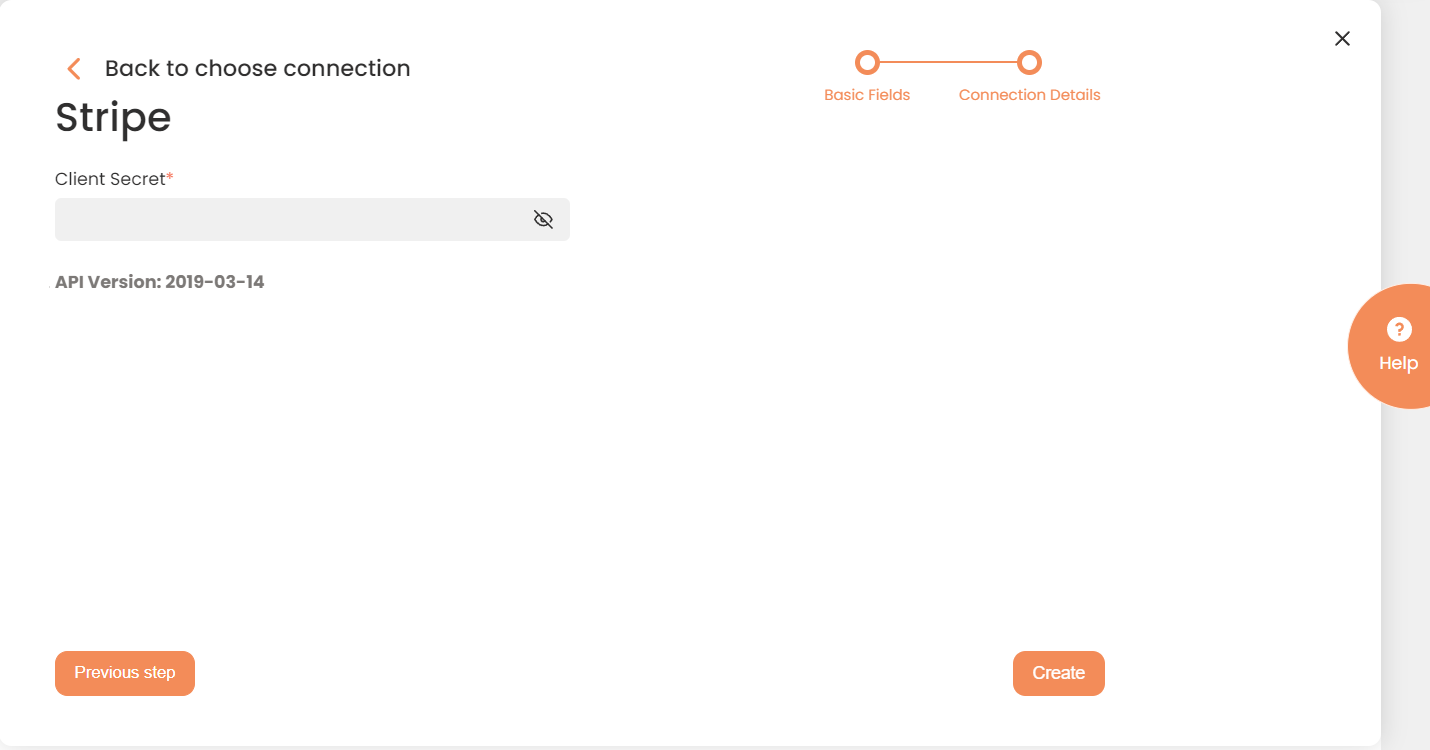
Connection Details Area
| Field | Description |
|---|---|
|
Connection |
A new connection name. Enter a connection alias here. |
|
Is Active |
Toggles connector’s activity at interface execution. Enable the checkbox to activate the connection for execution. |
|
Cloud Agent |
The LAN you are working with. Select "IConduct" for cloud systems and your corporate agent for internal systems. |
|
Is Source |
This connection entity is available as a data source for Import (writing to Schema). Enable the checkbox to ensure data import. |
|
Is Target |
This connection entity is available as a data target that receives data from schema to current data container. Enable the checkbox to ensure data export. |
|
Timeout |
The length of time (in milliseconds) the IConduct platform waits for a response from the connection provider before returning a timeout error. Set the time value to stop the system from connection attempts. |
|
SQL |
SQL box is intended for entering an SQL query. The user can test the SQL query once the connection is saved. |
|
DateTime Format |
Not used in this connector. |
|
Client Secret |
Mandatory field. Paste here the Secret API key that can be obtained from the Stripe user account. Every Stripe account is provided with separate keys for testing and for running live transactions. If you do not include your key when making an API request or use one that is incorrect or outdated, Stripe returns an error. |
|
API Version |
The label shows the current API version for the Stripe provider. |
Once the connection is saved, you can test if it is successful. Press the Test Connection button. If the created connection works, you will receive a success message.

Testing the Connection